写在开头
通过教程,你可以实现在阿里云,腾讯云等云厂商的服务器上重装原版的Centos7,获得最佳的体验。
需要准备的东西和条件
- 一台需要重装的服务器(此教程在Centos7下配置,其他系统请自行参考此教程)。
- 机器内存需要2G及2G以上(2G以下由于内存不足会直接失败,不要多次尝试)
- 无需数据盘
- 系统推荐Centos7
- 需要有VNC
实际教程
使用SSH登陆服务器并下载启动文件
Bash
wget -O /boot/initrd.img https://mirror.tuna.tsinghua.edu.cn/centos/7.5.1804/os/x86_64/images/pxeboot/initrd.img
wget -O /boot/vmlinuz https://mirror.tuna.tsinghua.edu.cn/centos/7.5.1804/os/x86_64/images/pxeboot/vmlinuz
这里使用pxeboot的镜像,如果源比较慢,请自行更换
添加启动项
编辑 /etc/grub.d/40_custom 文件
Bash
vim /etc/grub.d/40_custom

#!/bin/sh
exec tail -n +3 $0
# This file provides an easy way to add custom menu entries.  Simply type the
# menu entries you want to add after this comment.  Be careful not to change
# the 'exec tail' line above.
加入以下内容
Bash
# 非DHCP方式,手动指定IP地址和其他信息
menuentry "Install CentOS 7" {
	set root='(hd0,msdos1)'
	linux /vmlinuz repo=https://mirror.tuna.tsinghua.edu.cn/centos/7.5.1804/os/x86_64/ ip=xxx.xxx.xxx.xxx netmask=xxx.xxx.xxx.xxx gateway=xxx.xxx.xxx.xxx nameserver=xxx.xxx.xxx.xxx
	initrd /initrd.img
}

# DHCP,直接自动分配即可(没问题的话就用这种)
menuentry "Install CentOS 7" {
	set root='(hd0,msdos1)'
	linux /vmlinuz repo=https://mirror.tuna.tsinghua.edu.cn/centos/7.5.1804/os/x86_64/ ip=dhcp
	initrd /initrd.img
}
(请自行编辑vmlinuz,initrd.img的位置,如果镜像源过慢,请自行更换)
如果是腾讯云或者阿里云的服务器,可以使用内网源:
腾讯云内网源:http://mirrors.tencentyun.com
阿里云内网源:
ECS VPC 用户http://mirrors.cloud.aliyuncs.com
ECS 经典网络用户http://mirrors.aliyuncs.com
替换上面的地址即可
编辑/etc/default/grub文件,修改启动列表显示的时间,防止过快进入系统
Bash
[root@VM_0_12_centos ~]# vim /etc/default/grub
GRUB_TIMEOUT=5
GRUB_DISTRIBUTOR="$(sed 's, release .*$,,g' /etc/system-release)"
GRUB_DEFAULT=saved
GRUB_DISABLE_SUBMENU=true
GRUB_TERMINAL="serial console"
GRUB_TERMINAL_OUTPUT="serial console"
GRUB_CMDLINE_LINUX="crashkernel=auto console=ttyS0 console=tty0 panic=5 net.ifnames=0 biosdevname=0"
GRUB_DISABLE_RECOVERY="true"
GRUB_SERIAL_COMMAND="serial --speed=9600 --unit=0 --word=8 --parity=no --stop=1"
修改GRUB_TIMEOUT后面的值,一般30-60以内都可以
生成GRUB配置
Bash
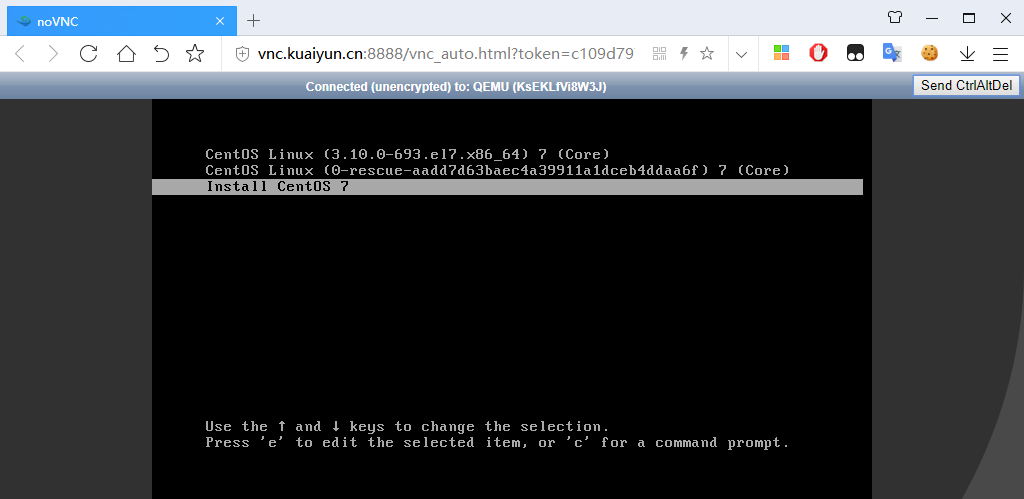
grub2-mkconfig -o /boot/grub2/grub.cfg重启服务器,选择Install CentOS 7即可

(图片参考 参考地址中的博文,如有任何版权问题请联系我)
BASIC
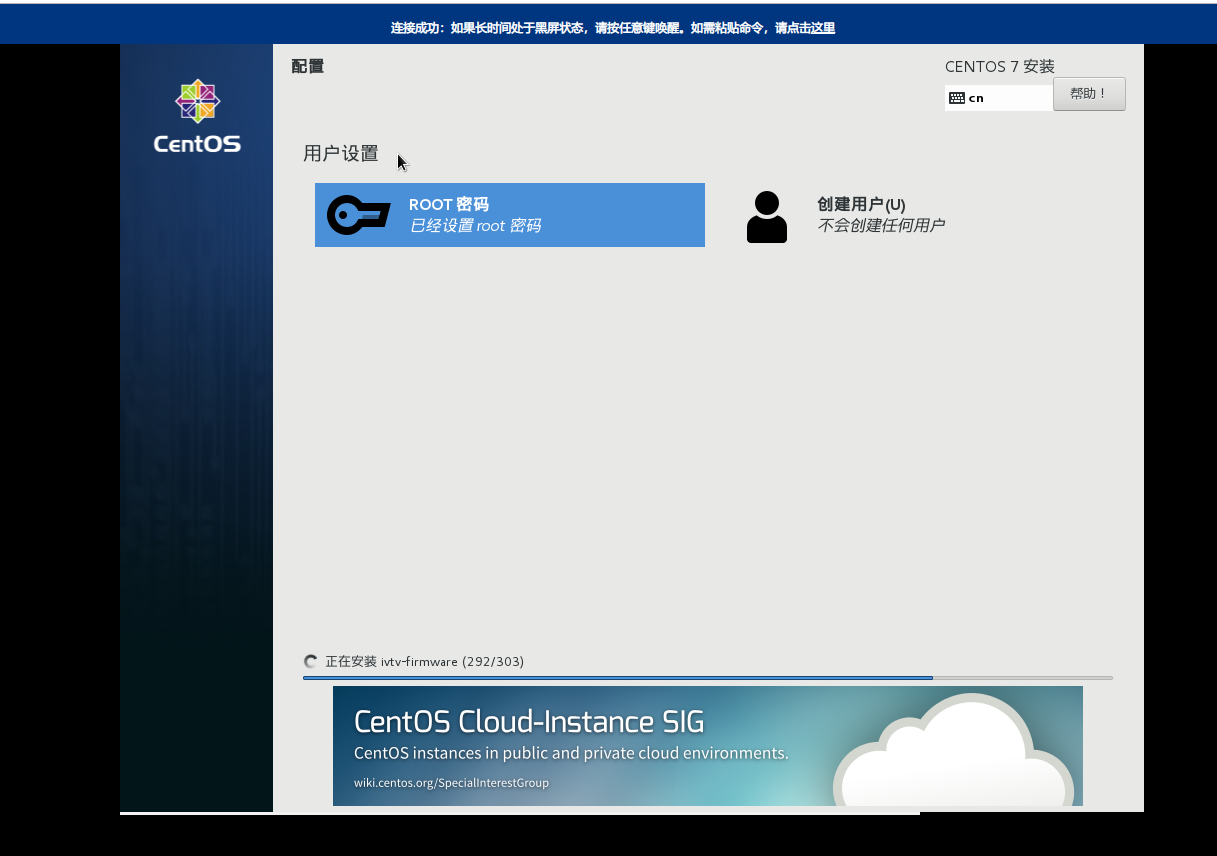
reboot进入之后会自动加载内核,按照网络情况,可能要等3-5分钟左右可以进入界面,然后直接安装即可
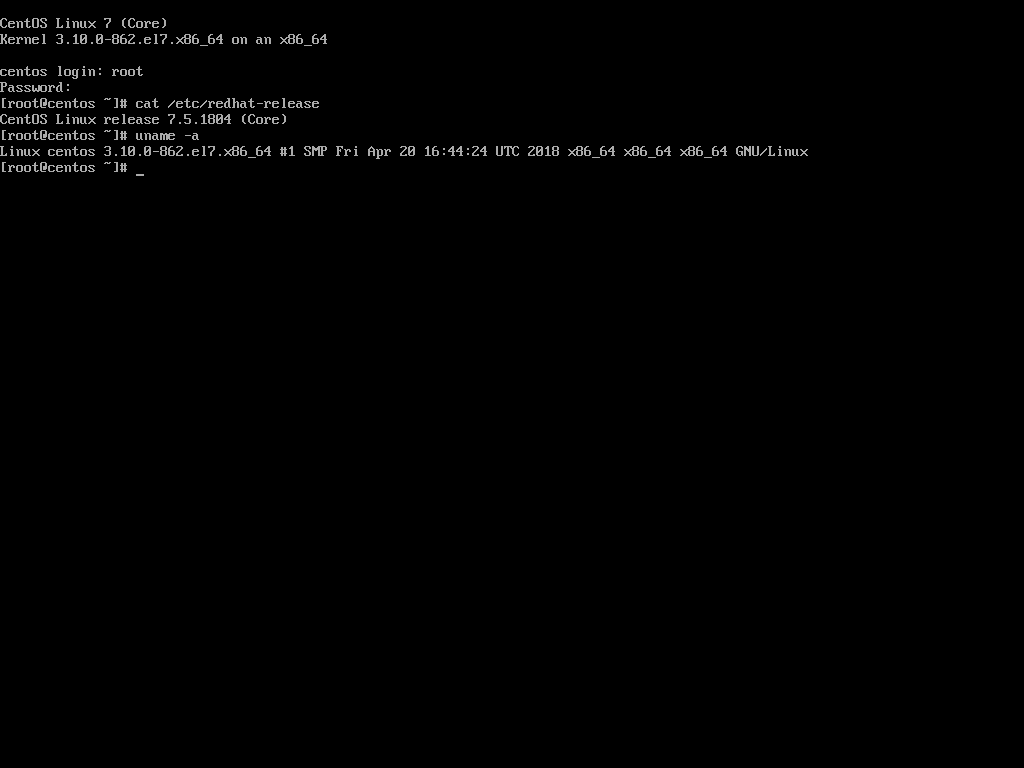
安装成功

附:常用GRUB配置
LiveOS下载地址:
http://mirrors.163.com/centos/7.5.1804/os/x86_64/LiveOS/squashfs.img
http://mirrors.tencentyun.com/centos/7.5.1804/os/x86_64/LiveOS/squashfs.img
Bash
# sed -i 's%GRUB_TIMEOUT=5%GRUB_TIMEOUT=60%' /etc/default/grub
# grub2-set-default 'Install CentOS 7'

# 常用配置,DHCP分配IP并使用VNC安装,VNC密码为空
menuentry "Install CentOS 7" {
	set root='(hd0,msdos1)'
	linux /vmlinuz repo=http://mirrors.163.com/centos/7.5.1804/os/x86_64/ ip=dhcp inst.vnc
	initrd /initrd.img
}

# 内存2GB以下机器,DHCP分配IP并使用VNC安装,VNC密码为空,使用数据盘的LiveOS
menuentry "Install CentOS 7" {
	set root='(hd0,msdos1)'
	linux /vmlinuz repo=http://mirrors.163.com/centos/7.5.1804/os/x86_64/ ip=dhcp inst.vnc inst.stage2=hd:/dev/vdb1:/squashfs.img
	initrd /initrd.img
}

# 腾讯云常用配置,DHCP分配IP并使用VNC安装,VNC密码为空
menuentry "Install CentOS 7" {
	set root='(hd0,msdos1)'
	linux /boot/vmlinuz repo=http://mirrors.tencentyun.com/centos/7.5.1804/os/x86_64/ ip=dhcp inst.vnc
	initrd /boot/initrd.img
}

# 腾讯云1GB内存机器,DHCP分配IP并使用VNC安装,VNC密码为空,使用数据盘的LiveOS
menuentry "Install CentOS 7" {
	set root='(hd0,msdos1)'
	linux /boot/vmlinuz repo=http://mirrors.tencentyun.com/centos/7.5.1804/os/x86_64/ ip=dhcp inst.vnc inst.stage2=hd:/dev/vdb1:/squashfs.img
	initrd /boot/initrd.img
}

# 阿里云请自行参考上面
参考地址
來源:https://blog.craftyun.cn/post/154.html